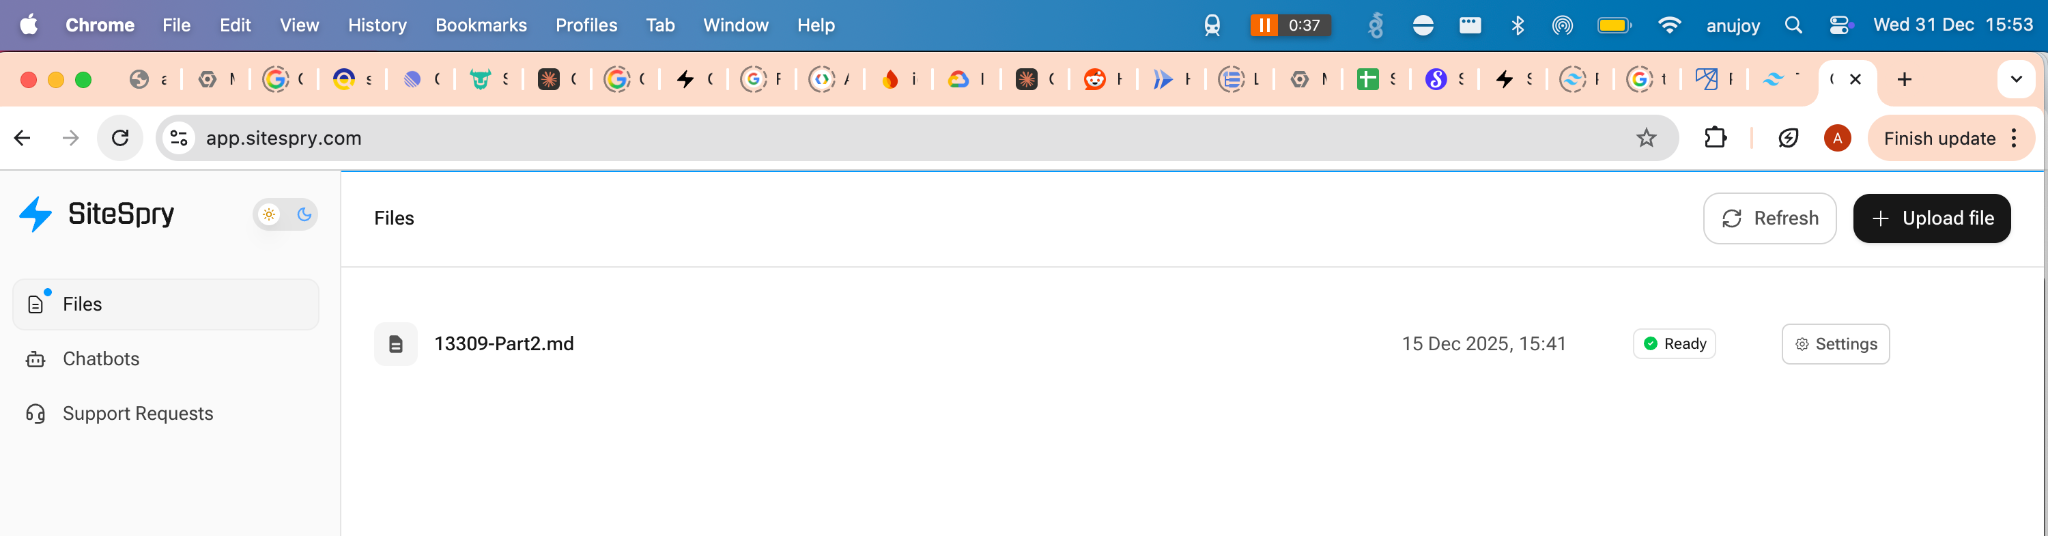
Files
The Files section is your central hub for uploading documents, publishing share links, and managing AI-generated help content.
Uploading files
To upload a new file:
- 1. Click Files in the left sidebar
- 2. Click the Upload file button (top right)
-
3.
Choose your file:
- • Drag and drop into the upload area, or
- • Click Select from computer to browse
- 4. (Optional) Add a description to document the file's purpose
- 5. Click Publish
What happens after upload:
- • Your file is immediately published to the internet
- • A unique shareable URL is generated
- • The file status shows "In process" during initial processing
- • Within ~5 minutes, status changes to "Ready" (green indicator)
- • AI processing continues in the background to generate FAQs and articles (can take 1+ hours)
Uploads are public
Files are published and accessible via a share link. Do not upload sensitive content.
File status
In process
Initial processing (link may not be ready yet)
Ready
Share link is available
Use Refresh on the Files page if you don't see status updates.
Configure a file's share page
- 1. Go to Files → (your file) → Settings
-
2.
Under Generate link, configure:
-
PDF viewer
Show inline viewer for PDFs
-
Help page
Show FAQs/articles on the share page
-
Chatbot
Show an AI assistant on the share page
-
Assigned Bot
Select which bot answers on this file's share link (when Chatbot is enabled)
-
- 3. Copy or preview the share URL
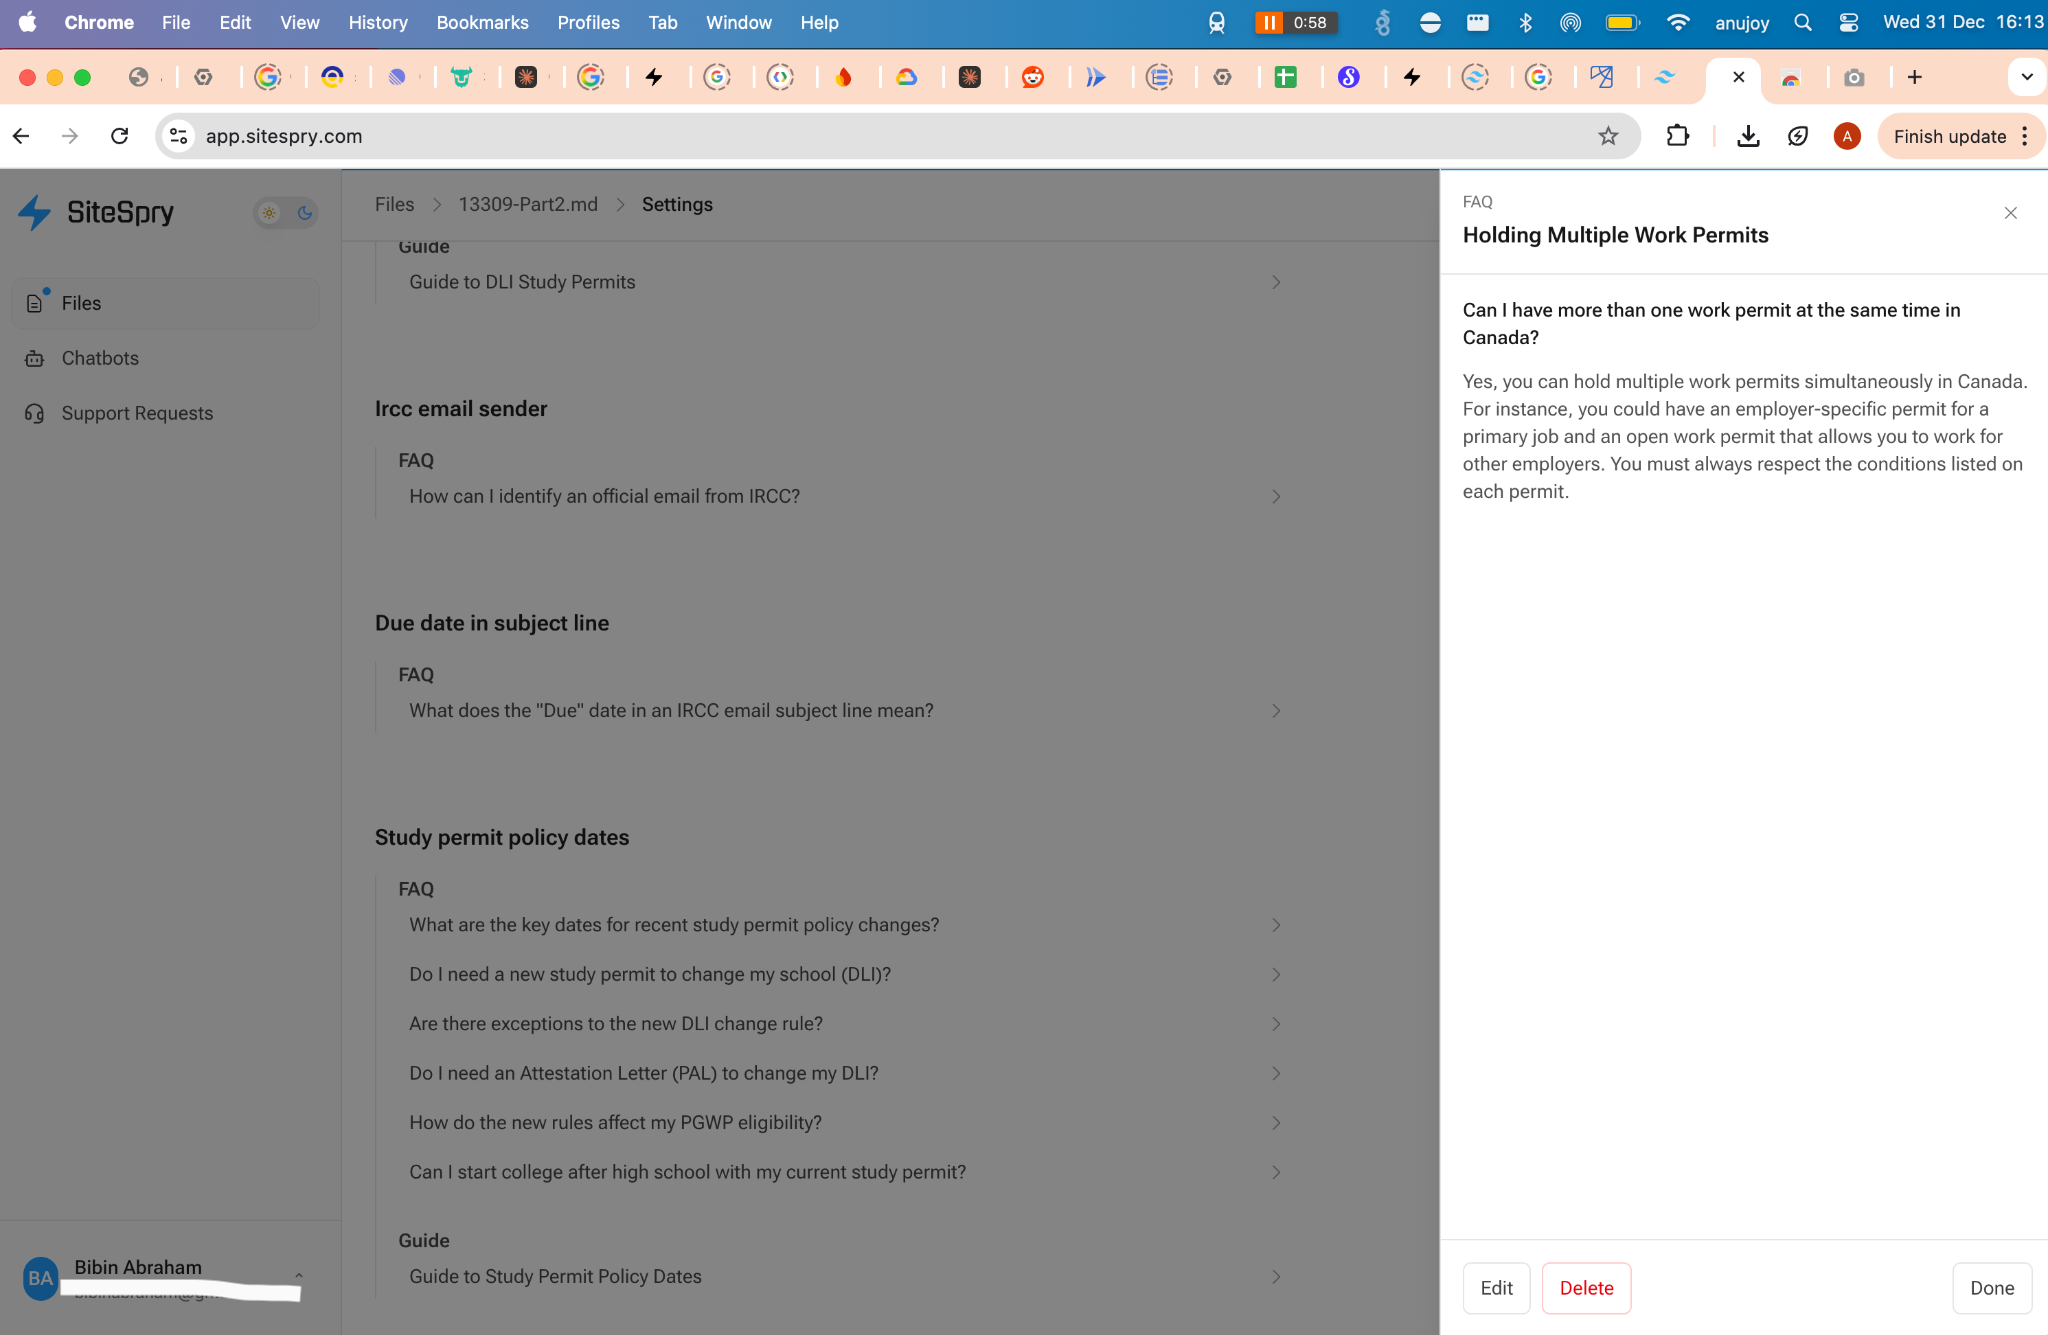
Curate FAQs and help articles (Artifacts)
SiteSpry generates FAQs and guides from the uploaded file in the background.
Timing: This may take an hour or more depending on file size.
To curate:
- 1. Go to Files → (your file) → Settings
- 2. Scroll to the Help page section
- 3. Click an item to open it
-
4.
Use:
- • Edit to modify
- • Save to keep changes (where available)
- • Delete to remove
- • Done to close